I hope that you have learned something from Part 1 and Part 2 of this series of articles on how to learn basic photography on your own. Now, let’s take on ISO for Part 3. This will also complete the three major elements that consist to have proper exposure of a photograph.
Before we jump in, let me quickly summarize the three elements that embodys’ proper exposure. They are the following.
- Shutter Speed
- Aperture
- ISO
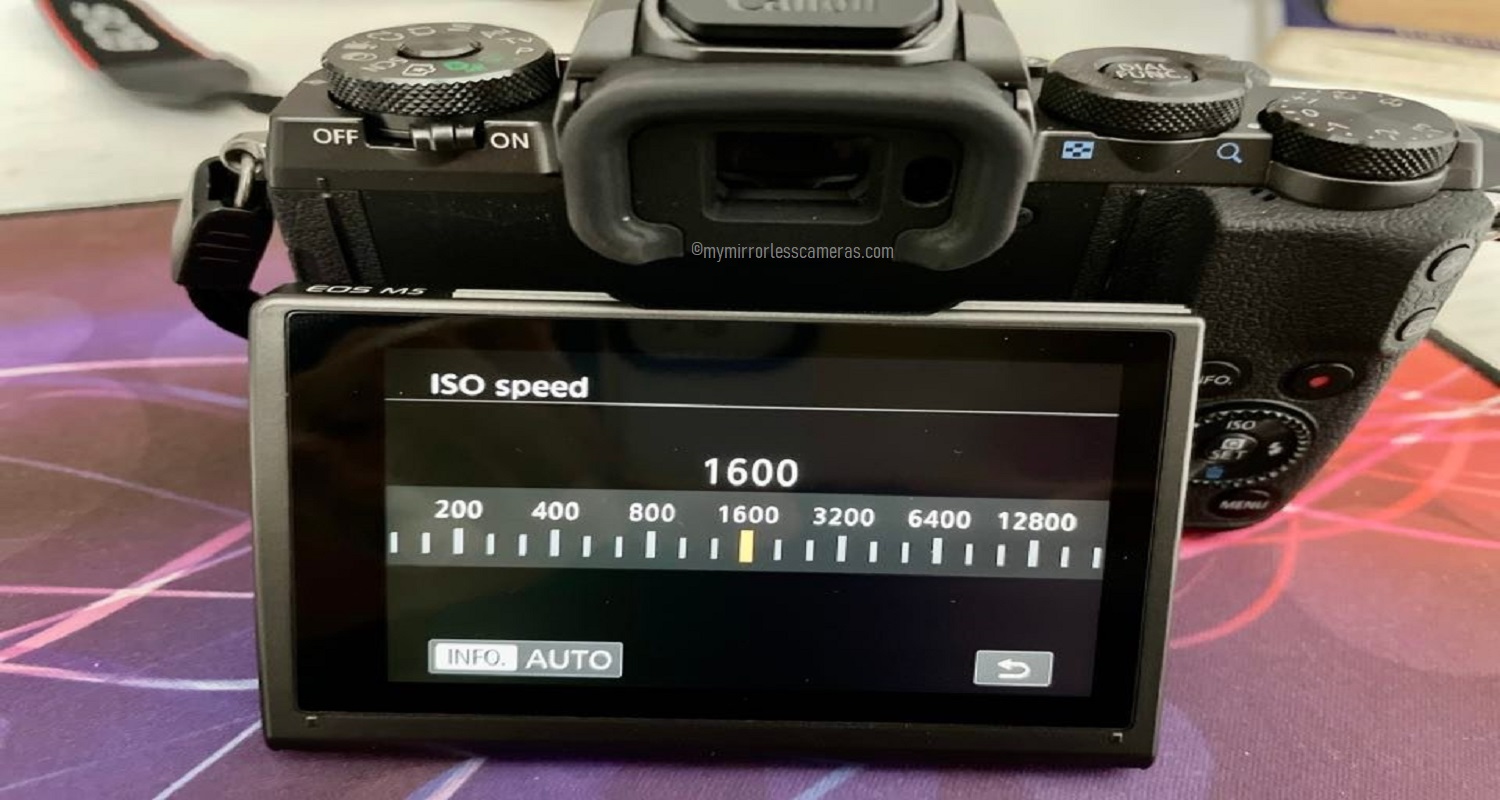
Now, let’s find out more about ISO
In simple terms, ISO is the sensitivity to light of the image sensor of your mirrorless camera.
- When ISO is set to a higher value, the brighter the image will become and captured in a much shorter time.
- Compared to a lower ISO, the mirrorless camera will have to allow a longer time of capture to gather more light to enter the lens and into the image sensor to have a properly exposed photograph.
Let’s further examine the difference between Low and High ISO
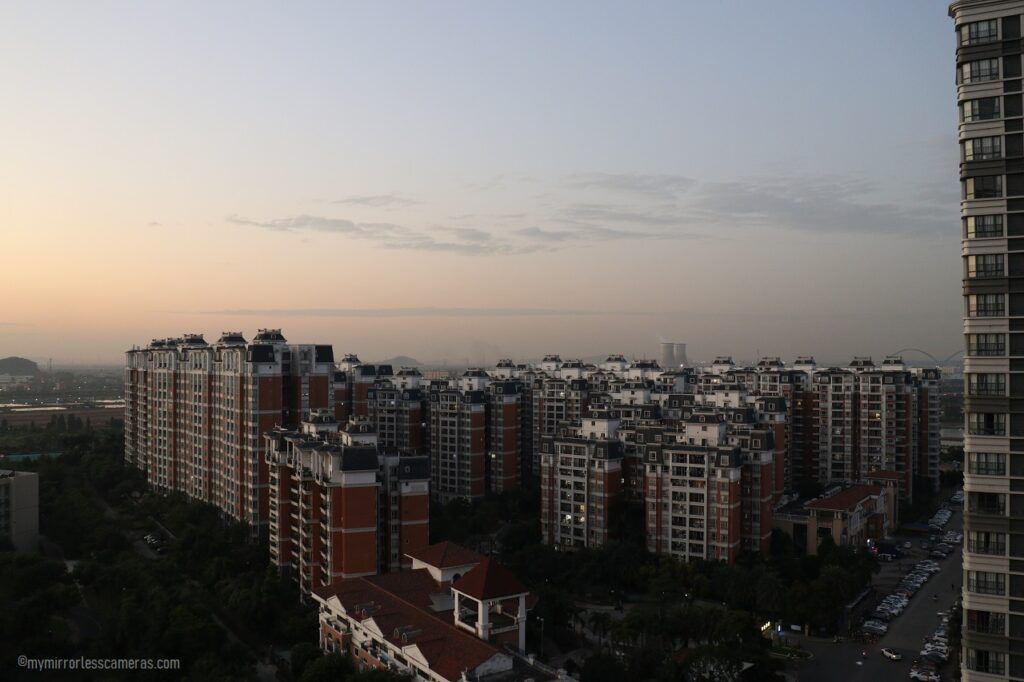
Lowest ISO (100)
The image below is out of the camera, with no post-processing. You will observe that the overall image is sharp.
I have set my mirrorless camera to aperture priority and manually adjusted ISO to 100. And the mirrorless camera took a long time at 0.4″ (2/5 sec) to capture the image allowing enough light to enter the lens to come up with this clear photograph.
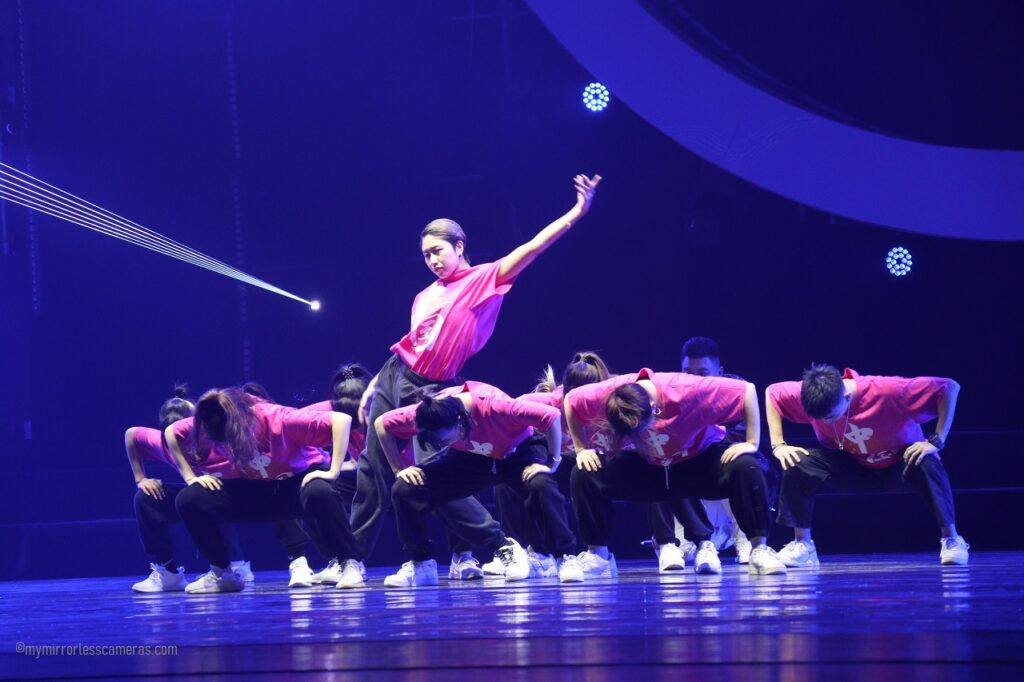
Highest ISO (25000)
On the other hand, the next photo was exactly taken using the same setting except for ISO that was set to mirrorless camera’s maximum ISO25000.
In this image, the mirrorless camera only needed 1/640 sec to capture this with the same aperture setting. You will also observe that the image have so much visible noise (represented by the grainy texture of the image).

Noise or grain is what you will get when using higher ISO. Photographs captured at low light are always expected to have noise or grain. This is because you will need to rev up your ISO to compensate for the dark environment to get a satisfactorily exposed image.
More about ISO explained!
The contrasting effect between lower ISO and higher ISO will be easily spotted in low light settings, using the same shutter speed and aperture!
Let’s take a look at the images below just for the sake of understanding more how ISO works.
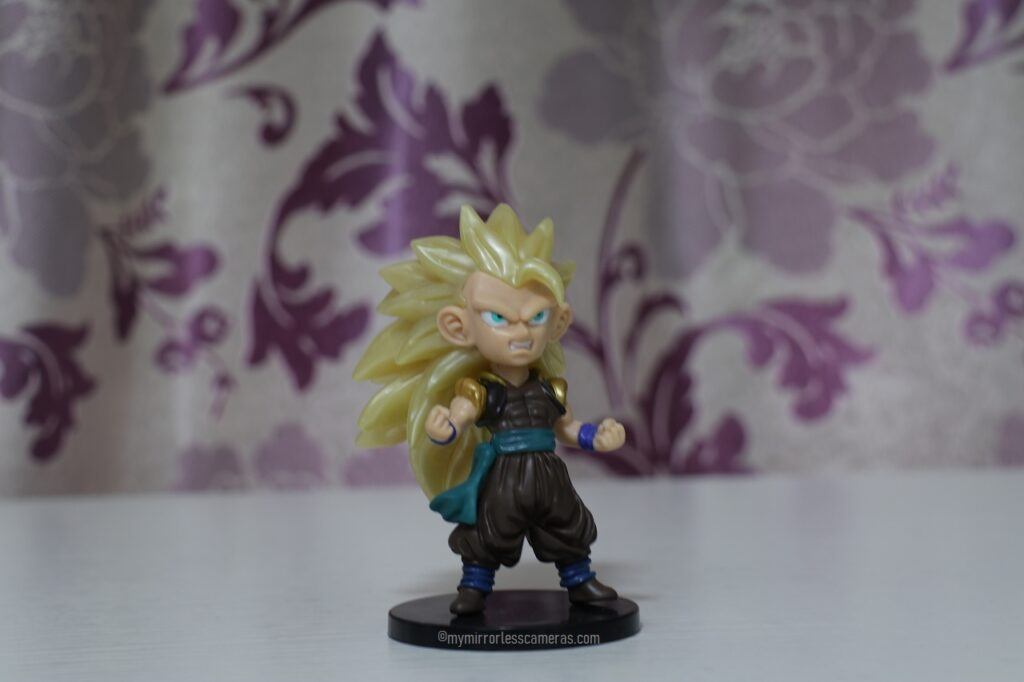
From ISO100 to ISO400 with little background lighting, the resulting photographs are from very dark to slightly bright images using the same shutter speed of 1/2 sec and an aperture of f/3.5


Pumping ISO up from ISO800 to ISO3200 also with a little background lighting, the resulting photographs started to get as real photographs with considerable exposure of the main subject using the same shutter speed of 1/2 sec and an aperture of f/3.5.


Further increasing the ISO will help you achieve the proper exposure you are looking for, but with the consideration of the noise that will come along.
Are there any appropriate ISO settings?
As a rule, using lower ISO (e.i. ISO100, ISO200) will always give you a sharp and properly exposed photograph in normal conditions.
However, an exactly opposite outcome will emerge when shooting at low light conditions. Thus, the need to employ higher ISO to achieve proper exposure of a photograph.
Here are some ISO hacks for different shooting conditions.
- Normal daylight
- ISO100, ISO200

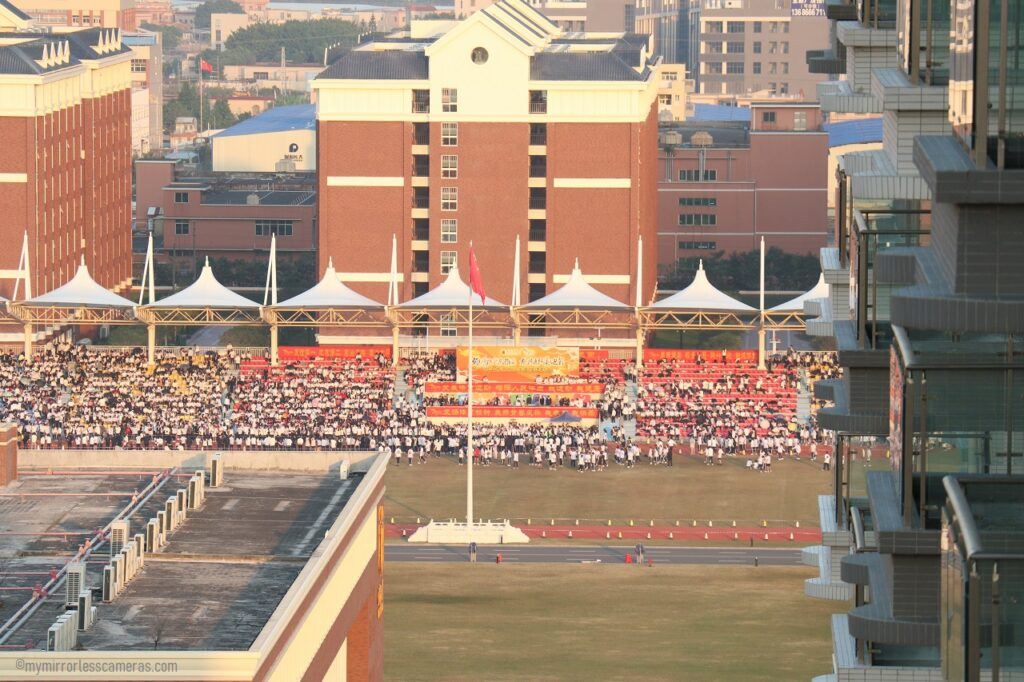
- Mid-morning/Afternoon
- ISO400
- Inside building
- ISO800, ISO1600
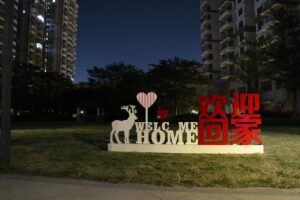
- Before Sunrise/After Sunset
- ISO800
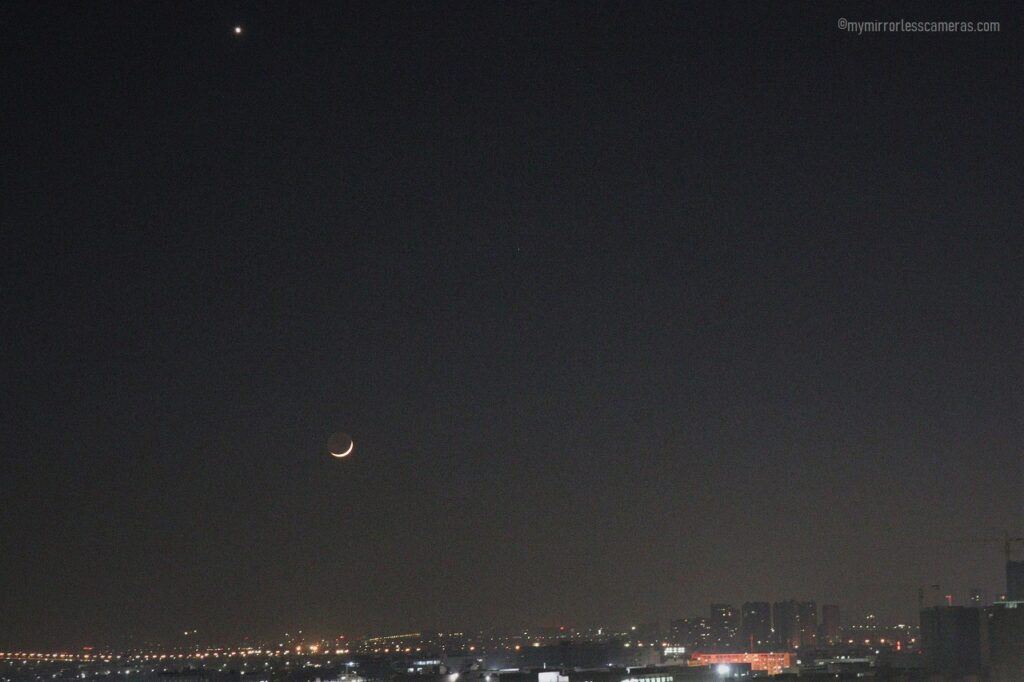
- Night sky
- ISO6400
If you are not sure and if you're shooting in a low-light setting, it is not a sin to set ISO always at AUTO. Even pro's use auto function when the need calls them to use it.
Conclusion
You should have a better understanding of what comprises proper exposure by now.
Shutter speed, Aperture, and ISO will play an important role in your quest on how to learn basic photography on your own.
To have proper exposure you need to master these three elements. They are interrelated and affect each other when one of these elements is changed.
So, always remember!
- When you shoot Manual- you need to adjust all three elements.
- And when you shoot semi-auto (i.e. Aperture Priority, Shutter Speed Priority, P mode)- you can control either one or two of the three elements.
- If you shoot AUTO (i.e. Intelligent Auto)- your mirrorless camera will do all the work for you. However, it will greatly affect your battery life, therefore, you must power OFF your camera when you’re not shooting.
Again, to learn basic photography on your own you need to do the following:
- Get familiar with your mirrorless camera (I have discussed previously the importance of knowing your mirrorless camera).
- Practice makes perfect- so practice, practice, and always practice.
- Watch free video tutorials to improve your skills.
- Read books or articles about photography.
- Join photography groups to get valuable insights from the experts.
- Don’t get mad or get disappointed when someone critiques your photographs instead, accept them, learn, and improve.
There you have it, folks, once again thank you for reading. If you find this article helpful or you have some questions or suggestions please leave a comment below. I will try to answer them to the best of my knowledge.
About Rowe Medialdea:
Hi, I’m Rowe, a mirrorless camera and photography enthusiast. We have created this site to be of help (especially to beginners) by producing easy-to-understand content about mirrorless cameras! Welcome to our website!